

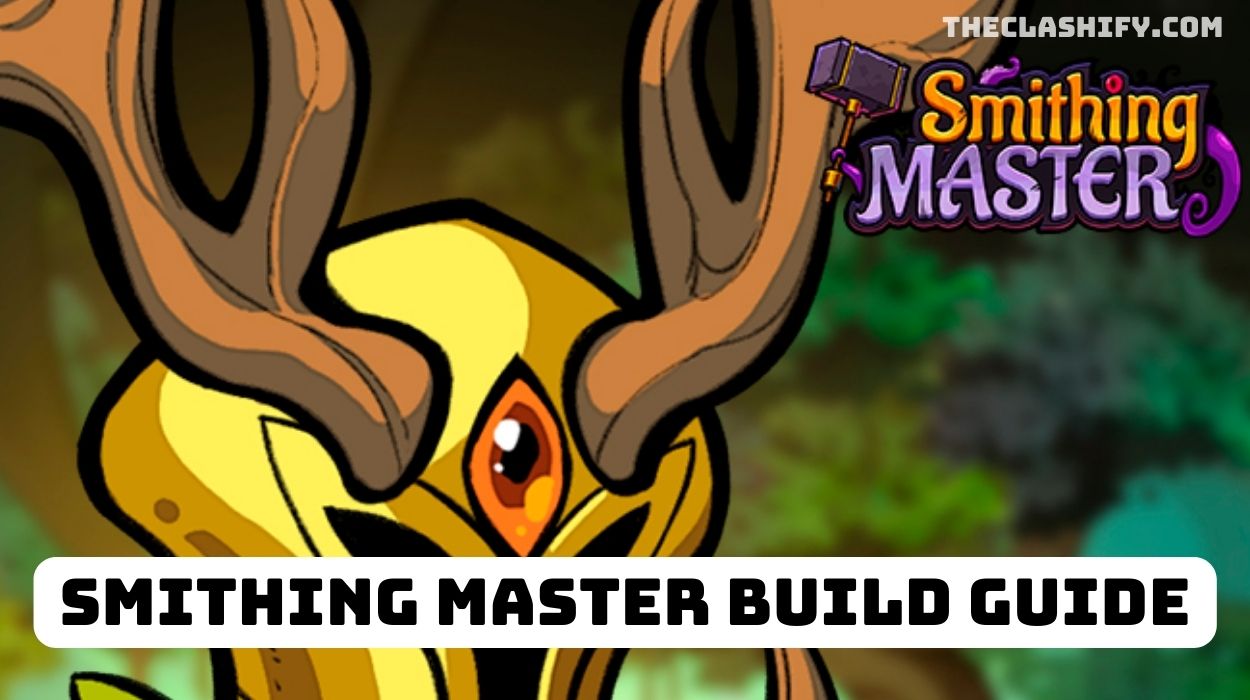
Smithing Master Build Guide – Best Stun Lockdown Build
Welcome to our Smithing Master Build Guide - Best Stun Lockdown Build, Smithing Master is a brand-new Idle RPG game…
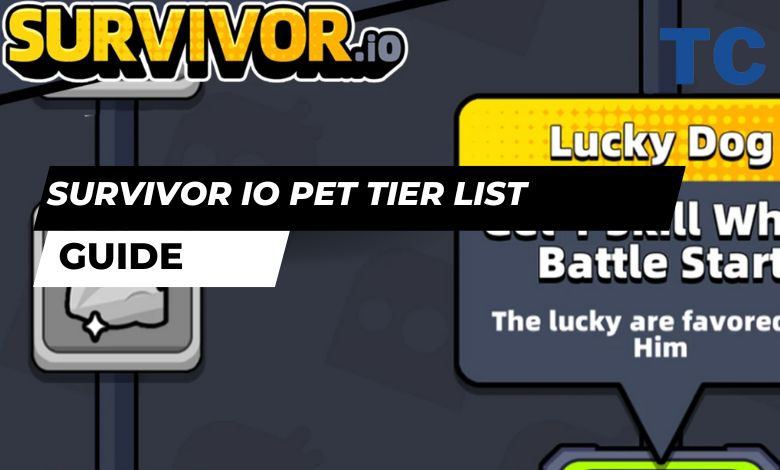
Survivor io Pet Tier List 2024 – Best Pets, Cookies, and Perks
Welcome to our Survivor io Pet Tier List, In this Survivor io Pet Tier List, we will tell you about…
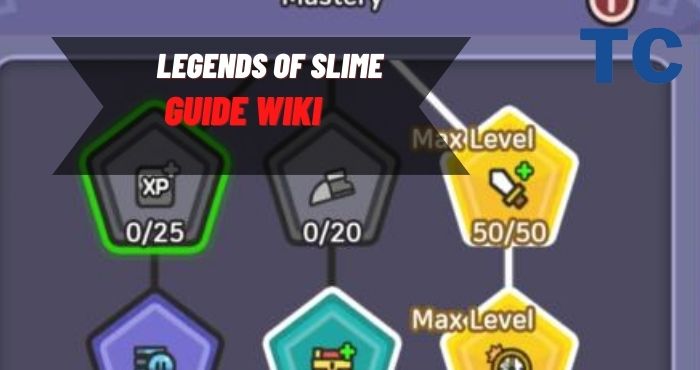
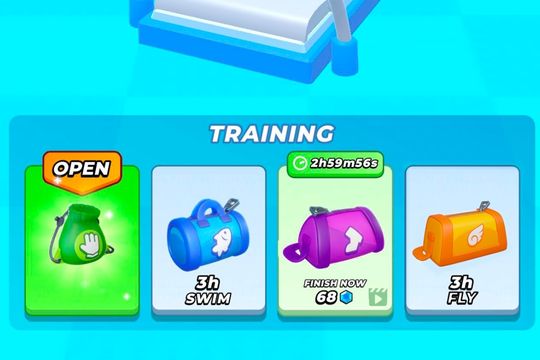
Legends of Slime Guide April 2024 & Tips For Beginners
Legends of Slime, at first glance, can feel very difficult and tough to survive, especially if you’re new to adventure…
Mini Survival Recipes List – Food & Cooking Tips
Hi guys, today I am going to show you the Mini Survival Recipes, Food is very important in Mini Survival…