
Skull and Bones Best Ship Build for Endgame
Welcome to our Skull and Bones Best Ship Build for Endgame If you are ready to dominate the high seas…
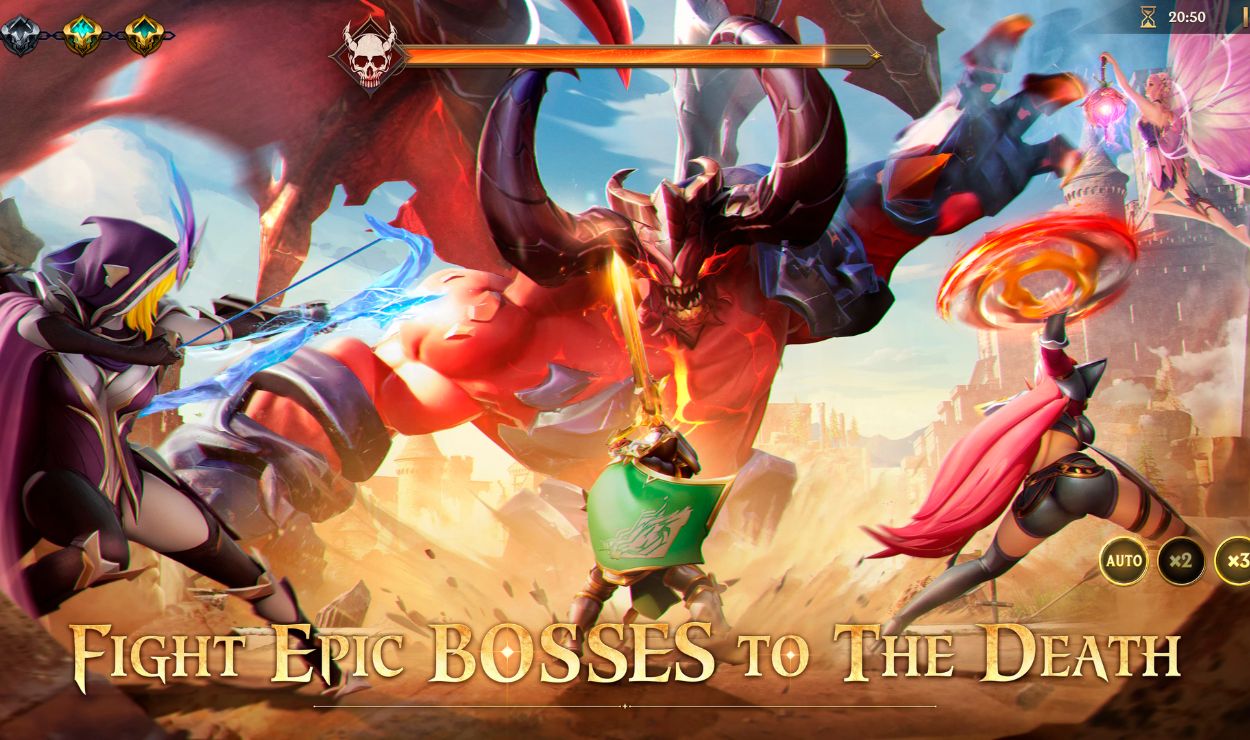
War Spell Team Tactics RPG Tier List Wiki & Team Comp
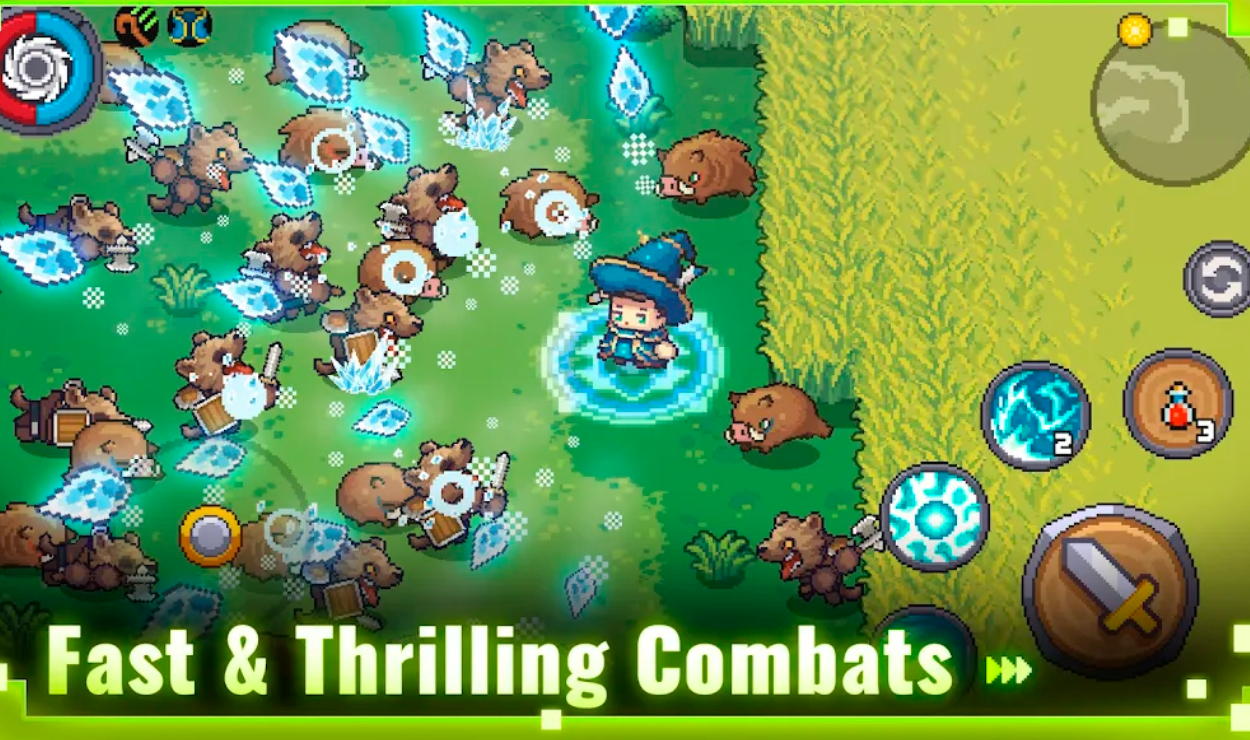
Are you struggling to find the best Tanker or Attacker in the War Spell Team Tactics RPG? Collect more details…
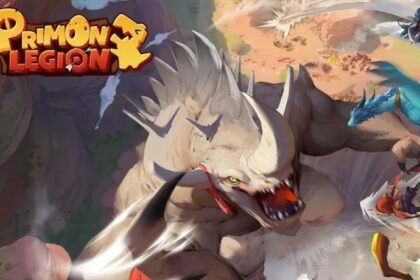
Primon Legion Tier List 2024 – Best Primons Ranking
Are you looking for the best characters in Primon Legion? Check out our comprehensive Primon Legion Tier List 2024. Published…

Life Makeover Quiz Answers Guide – Vvanna Quiz Ans
Welcome to our Life Makeover Quiz Answers Guide, In this article we will tell you the Life Makeover answers for…