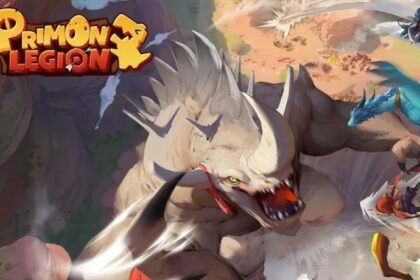
Primon Legion Tier List 2024 – Best Primons Ranking
Are you looking for the best characters in Primon Legion? Check out our comprehensive Primon Legion Tier List 2024. Published…
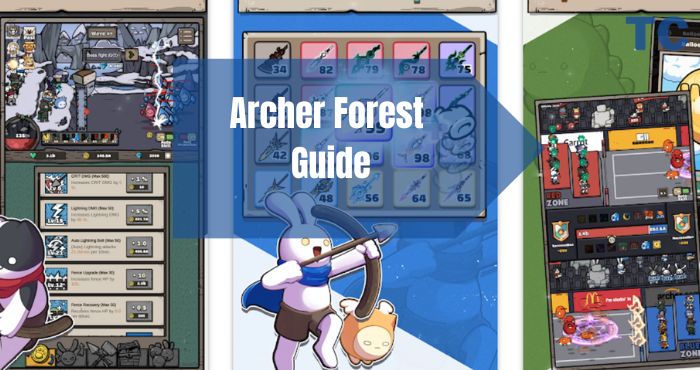
Archer Forest Guide Wiki & Tier List 2024 April
Hello, are you new to Archer Forest Idle Defence and just getting started? To help you speed up that process,…

Vampire Survivors Grimoire Evolution v1.9.0 2024
Hi guys, Today I will show you Vampire Survivors Grimoire Evolution v1.9.0 and in this Vampire Survivors Grimoire Evolution v1.9.0…

Monopoly Go Board Cost & Levels 2024 April
Hi guys, Today we will show you the Complete Monopoly Go Board Cost 2024 and Board Levels with name and…