
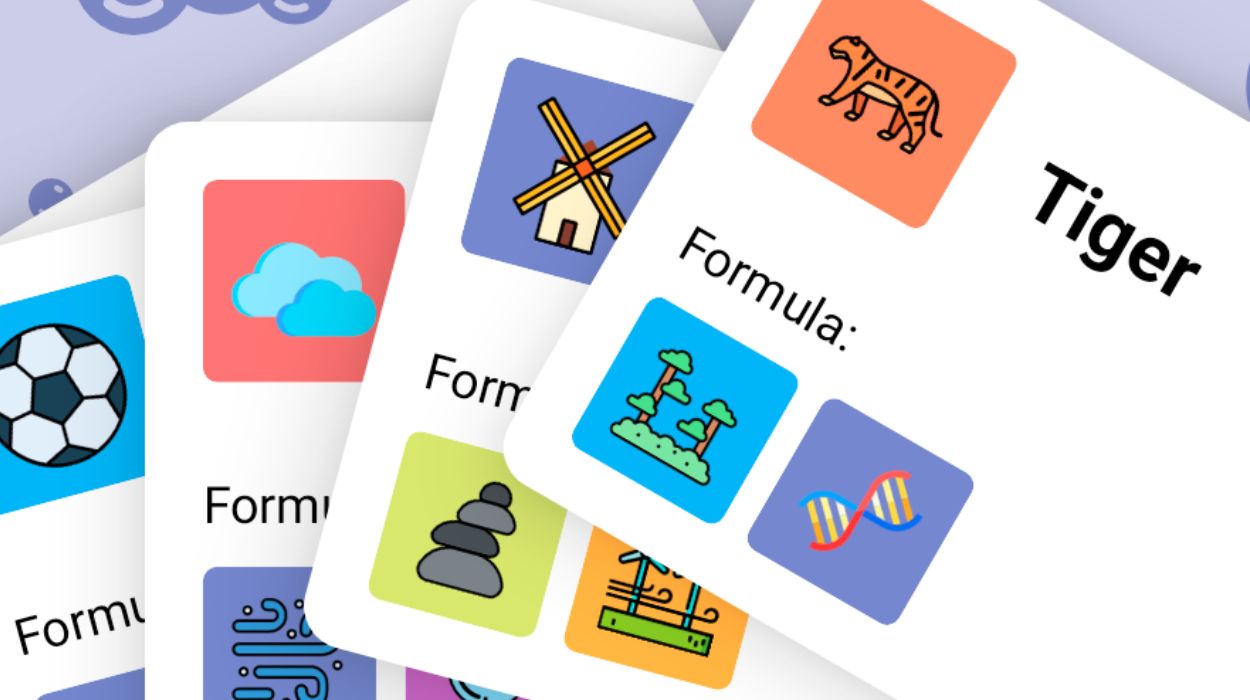
Alchemy Merge Recipes 2024 – All Combinations & Elements
Stuck and need some Alchemy Merge Recipes 2024? Our Alchemy Merge Combination 2024 Guide will help you find out All…
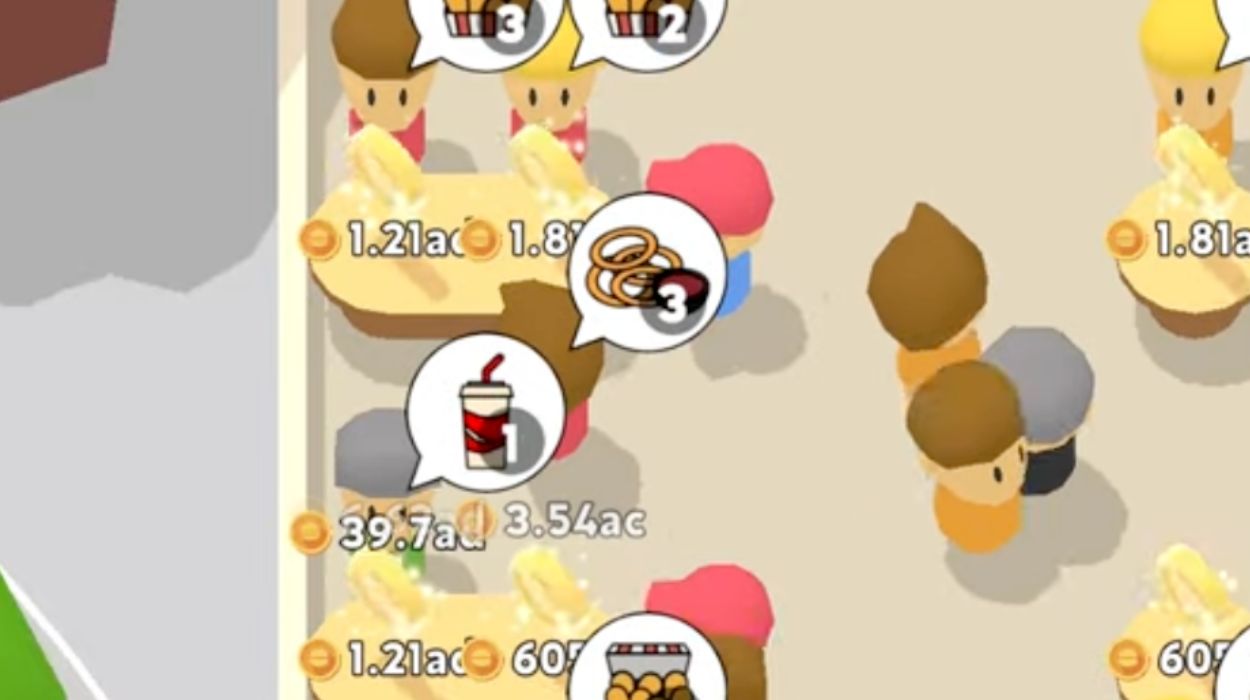
Eatventure Pets Guide – Pet Merging/Leveling & Tier List
Welcome to our Eatventure Pets Guide - Pet Merging/Leveling & Tier List, In this article we will talk about Eatventure…
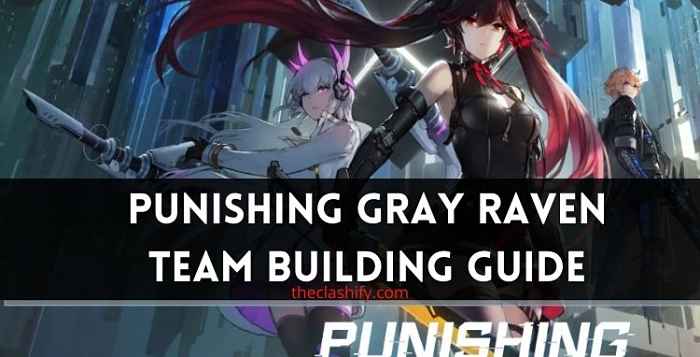
Punishing Gray Raven Team Building Guide 2024
Are you Looking for a Punishing Gray Raven Team Building Guide 2024? If so, you've come to the correct place.…

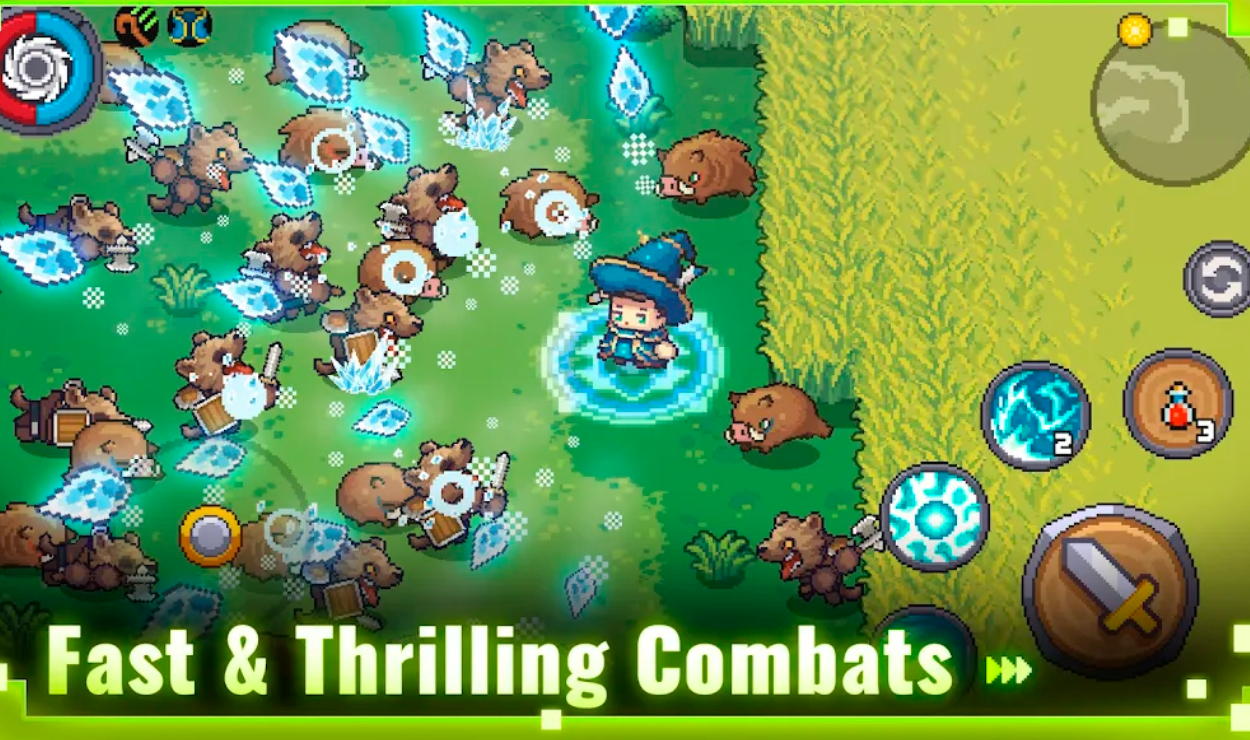
Pixel Hunter Idle Beginner Guide Wiki – Relics, Equipement
Welcome to the Pixel Hunter Idle Beginner Guide Wiki. Pixel Hunter Idle, developed by ZillionGames, is an idle RPG game…